When you already notice raindrops falling inside your house, it’s often too late already to think about prevention and quick fixes. If there’s a hole up there, even if you just go for a 5-minute shower, by the time you get back, you could have some serious problems. It’s for a repair. It may take some time before you are able to get in touch with a professional. So, what we would advise you to do right now is to do some DIY roof repair. Below, we’ve listed down 3 of the most effective DIY roof repairs we’ve had the pleasure of discovering.

1. Get The Debris Off The Gutters
Why is it Important to Get Debris Out of Gutters?
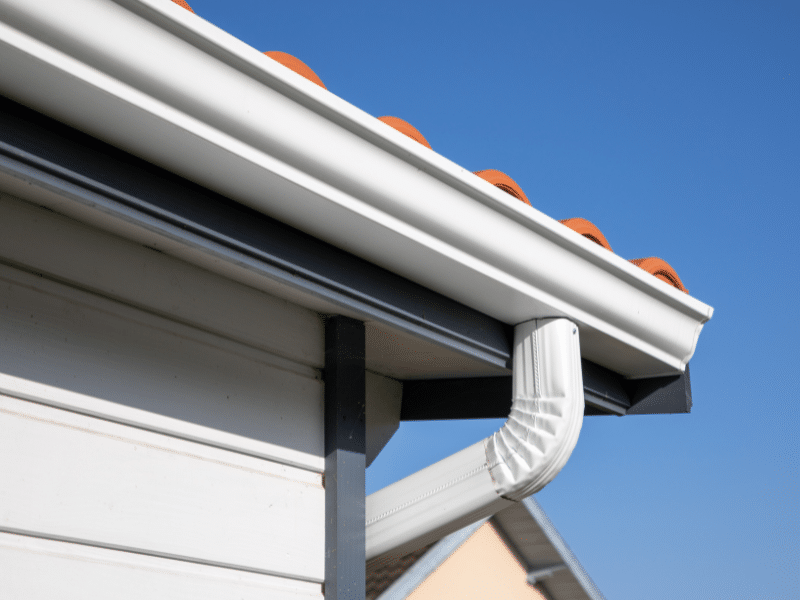
When people hear the word “roof”, oftentimes the only thing that registers to them is tiles. You’d be surprised how much more complicated the roof is compared to what you see. One part of the roof that many people fail to pay attention to is the gutters. The gutters serve to channel rainwater from the roof down to the sewer.
When building the roof, it is most recommended that you use high-quality materials. This will increase the lifespan of your gutters tremendously but at some point, the water will reach the maximum capacity of the gutters. When this happens, the water will go straight into your walls, furniture, and wallpaper.
Preferably, you should not wait for this time to come. Make a habit of inspecting your gutters every few months and then clear it out. It may seem time consuming but it’s a far better solution than having to ruin the insides of your home due to water that was unable to hold.
See also: How Much do Rain Gutters Cost?
2. Replace All Damaged Shingles
Why is it Important to Replace Damaged Shingles?
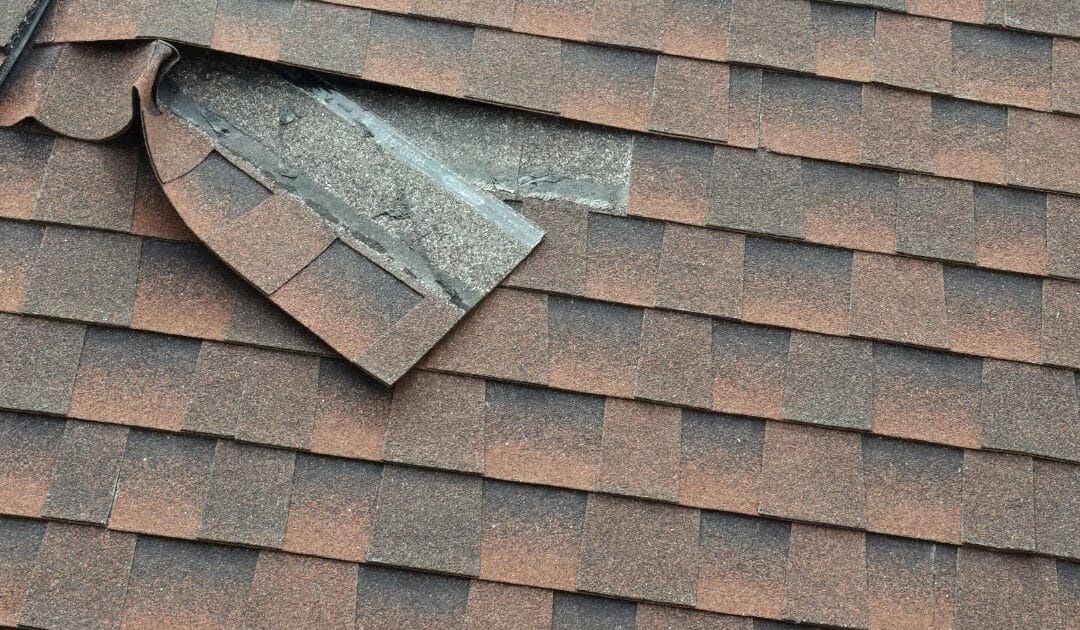
One of the biggest reasons roof problems occur is due to damaged shingles. Roofs have a tiled design for an important reason and so, if one of the tiles or shingles get damaged, the water tightness of the roof gets breached.
Just like your gutters, the shingles is also one part of your roof that you have to constantly inspect and monitor. The reason is that you can only do a DIY roof repair if there are only a few shingles that have been damaged. Anything more than that, then you certainly have to get a professional for quality help.
That being said, it is important to be mindful of certain signs that some shingles are starting to give. The first sign is that if you see black residue in the drains. You could also see some of the shingles falling on the ground beside the house.
To perform the DIY roof repair, you need to grab a ladder to reach the problem area. Locate the damaged shingles and then lift the edges of the adjacent shingle. You can then pry out the nails that attach it to the battens. And then carefully slide it out. You also need to scrape any excess cement left underneath to make sure that the opening is cleared.
Take out the substitute shingle. Use a durable knife to round the corners at the back end slightly. This will make the placement procedure a lot easier. After placing the shingle, you can use a 6D hot-galvanized special roofing nails to fasten the shingle into place. And then you can use caulk or cement to cover the nails. This will help prevent weather damage and any possible oxidation.
3. Flat Roof Repairs
Why is it Important to Do Flat Roof Repairs Right Away?
One of the most common issues involved with flat roofs are water drippage when you a pond up there. We often tell people that having a pond on a flat roof is a bad idea. This is because gravity won’t push water downward the same way it would if it were on a slanted surface.
Aside from that, the structure of a flat roof is also a bit different since it mostly comprises roofing felt and tar. When the felt is damaged, you cannot miss it because water will start to drop from a low spot on the roof’s surface.
Before you start to do your roof repairs, it is important to drain the water first from the pond. You also need to keep the roof dry by mopping it. After that, you should make sure that the roof is clear off sand, gravel, or any other debris.
And then take a utility knife and begin to cut through the blistered layer. Make sure to do this lightly so that you don’t damage the felt underneath. If there is any water sandwiched between the blister layers, press hard on both edges to squeeze it out. You can also use an old rag to soak out the water before you let it air dry.
Take note that you shouldn’t conduct this DIY roof repair only when the air is not humid. It is most recommended that you do it on a sunny day. But if your roof situation becomes urgent during cold or winter months, you can always use a torch with a flame-spreader nozzle to make the drying process a lot faster. When you do something like this, make sure that you wear protective gear like goggles and mandatory clothing.
When the area is completely, that’s the time when you can patch the hole that you made. Spread a thick layer of cement across the loose edges of the felt and then press hard on the edges of the blister. Along each side of the cut, you can nail a whole row of 6D galvanized roofing nails. And then cover the nails with another layer of roof cement.
If your roof problem is not too serious, all of these DIY roof repairs that we’ve listed in this post can be a good permanent solution. But only if the process is carried out properly. If, in case, some steps were not entirely clear or bigger problems arise as far as your roof is concerned, getting professional help might be a better solution.
We hope that by now, you have gained a more rich understanding of how you perform DIY roof repairs in your home. You never know when the next storm is going to come. So, if you notice something wrong with your roof, do not postpone getting a professional or performing fix yourself.


